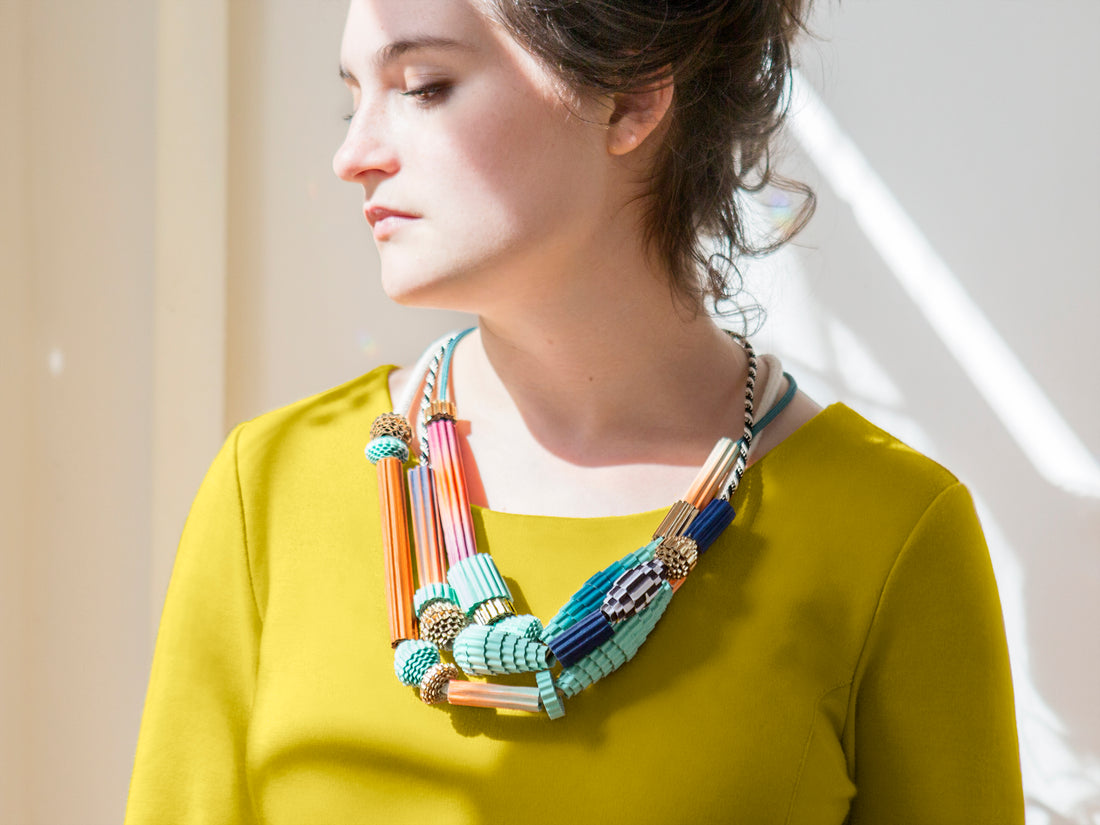
Make a Paper Bead Statement Necklace
Share

A stack of chunky, layered necklaces elevates any outfit from casual to composed. Channel your inner jewelry designer and create a one-of-a-kind statement piece with this incredibly easy DIY.
 These bold, textural beads are made from simple corrugated paper, which can be found at any local craft store or made with a paper crimper. Experiment with different shapes and colors to create colorful, unique designs that pop against a simple shift dress or T-shirt. Best of all, this craft can be enjoyed by kids and adults alike and takes less than an hour to complete.
You will need:

- Corrugated paper
- Ruler
- Pencil
- Scissors
- Paintbrush
- Glue
- Cord

- Optional: Markers, spray-painted paper and colored cord to make your necklace pop
Before you get started: When it comes to paper beads, the possibilities are truly endless. Whether you choose to create simple, straightforward tube beads or more complex shapes, the bead width will be determined by the base width of the shape; the thickness will depend on the length of the shape.
Create simple tube beads using a rectangle shape:

Or make more complex shapes using different-sized triangles:


Once you’ve decided on the types of beads you’d like to make, use a ruler to draw the bead’s shape (triangle or rectangle) on the flat side of your corrugated paper.

For this demo, I am using a triangle shape that has a 3-inch base and is 12 inches long.

Next, use scissors to cut out your shape.

Use a paintbrush to apply glue to the back (flat side) of your cutout. Be sure to leave about an inch of space unglued at the base of your shape so it doesn’t stick to your pencil in the next step.

Starting at the unglued base of your shape, roll the paper around a pencil. Go slowly to make sure that the glue binds the paper as you roll.

Optional: Once you finish rolling the paper around the pencil, apply a light coat of glue to the outside of your finished bead. (This will help protect it from the elements and make it stronger.) Leave the bead on the pencil to dry. Next steps ➜
DIY created by Clare McGibbon and edited by Aleksa Brown for Etsy.com
