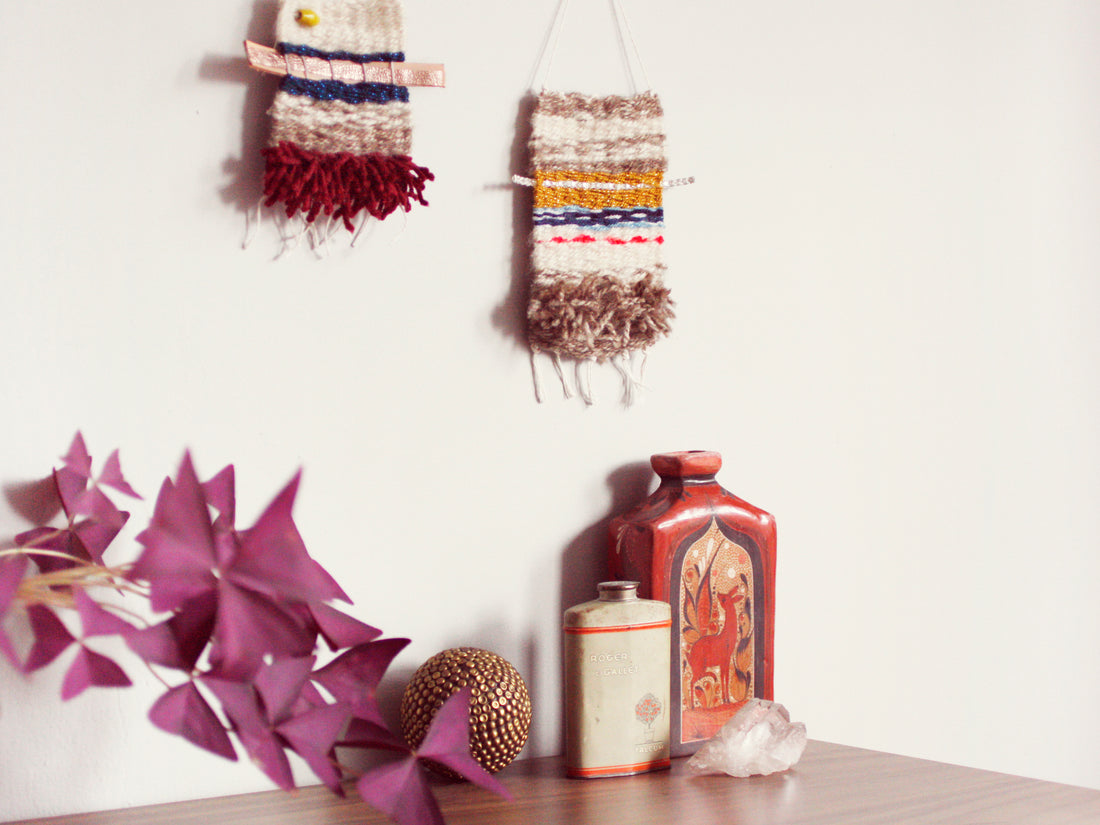
Learn to Weave
Share

My mother is a weaver, so the apartment I lived in as a kid had a loom that took up half of our living room. Growing up, I loved sitting on the ground and watching the loom’s pedals going up and down, with the sound of the shuttle moving back and forth as she worked.
Since then, I have often dreamed of having that loom back in my life. But in the meantime, I’ve learned that you don’t need to invest in a large professional loom to learn the basics of weaving. You can make your own loom out of a simple piece of re-used cardboard instead!
You will need:

- Cardboard
- Packing tape
- Masking tape
- Ruler
- Permanent marker
- Craft knife
- Scissors
- Large needle
- Twine
- Yarn

Optional Embellishments:
- Sequin Ribbon
- Rhinestone Ribbon
- Beads
- Leather
- Driftwood
Step 1: Make your loom

When you’re ready to begin, tape the top and bottom of your cardboard with packing tape. This will make your loom stronger. With your ruler, mark two lines along the top of your cardboard that are 3/4 of an inch from each side. Next, mark a line every 1/2 inch from those points until you have 10 lines total along the top of your loom. Repeat this step on the bottom. Cut along the lines with your scalpel to create notches.

Tape the end of the twine to the back of your cardboard. Fit the twine through the first notch at the top and down the cardboard to the first notch on the bottom. Keep the twine taught and continue wrapping up and down through the notches until you have reached the other end. Cut the twine and tape the end to the cardboard.
Step 2: Weave

Cut about 1 yard of yarn and thread your needle. Guide the threaded needle through the twine using an over-under pattern, being sure to leave a 5″ tail at the end. After the first row, guide your needle back through the twine using an under-over pattern. Tip: Try not to pull your yarn too tight (or too loose) or your weaving will start to look wonky!

Continue weaving back and forth until you’re satisfied with the amount you have woven. When you’re ready to try another color or pattern, push the woven section up with your fingers to tighten. Cut the yarn, being sure to leave another 5″ tail.
Step 3: Rya

To create the Rya, or “fluff” in the weaving, cut several 4″ pieces of yarn. Lay the first piece in a “U” shape over the first two pieces of vertical twine. Wrap the ends under the twine and pull them up until the piece of yarn meets your basic weaving pattern.

Repeat on the third and fourth pieces of twine, the fifth and sixth pieces (and so on) until you have a row. For the second row, skip the first piece of twine and wrap your yarn under the second and third piece of twine. Repeat on the fourth and fifth pieces of twine (and so on) until you have completed the second row.

Continue alternating rows until you have about an inch of fluff, being sure to push it up with your fingers after each row so it’s nice and tight. When you’re ready to go back to weaving, simply continue the over-under pattern from step two, alternating colors as you like.
Step 4: Add embellishments

Now it’s time to experiment with all kinds of embellishments – from leather and driftwood to ribbon and beads. Glide the leather (or driftwood or ribbon) under and over the twine. Continue weaving with yarn to hold it in. To add a bead, simply string it on your yarn at any point and continue weaving.
Step 5: Finishing touches

When you reach the bottom of your loom, it’s time to finish the edges of your weaving. Start by threading each tail of yarn through your needle and sewing it through the weaving. Snip the excess. Next steps ➜
DIY created by Clare McGibbon and edited by Aleksa Brown for Etsy.com
