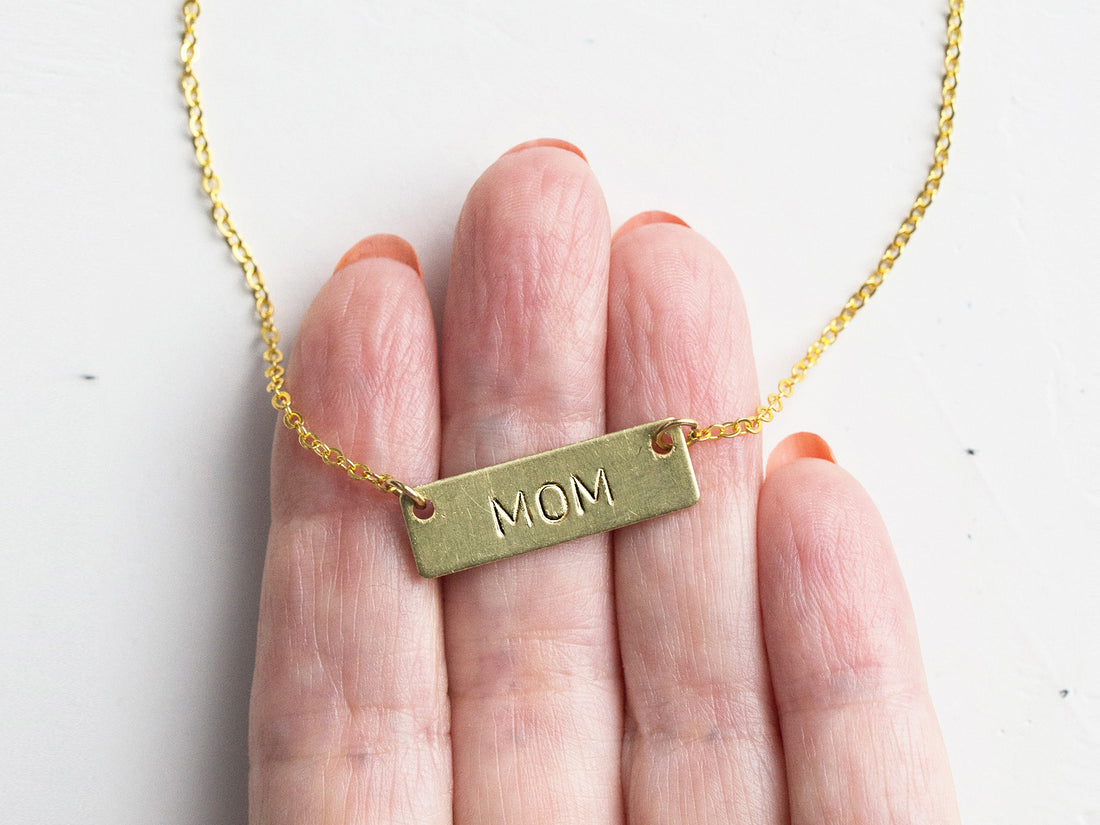
How to Make a Personalized Hand-Stamped Necklace
Share

Learn how to make a personalized bar necklace in this metal-stamping tutorial. With an initial investment in the right tools, including a set of metal alphabet stamps, you'll be able to personalize this necklace and many more with any word, phrase, or name that you want. Once you master the technique, you'll have a heartfelt go-to gift for birthdays, holidays, wedding showers, and beyond.
You will need:

- Blank metal charm (25 mm. x 6 mm. will fit 6 letters)
- 4 mm. jump rings in 24 gauge
- 1 yard of 1.6 mm. flat-cable chain
- Steel stamping block
- Leather sandbag (at least as big as your steel stamping block)
- Brass stamping mallet
- Washi tape
- Ruler
- Pen
- 2 pairs of chain nose pliers with cutters
- 3mm metal alphabet stamps
- 4 x 10 mm. claw clasp
Step 1: Set up your sandbag

Place steel block on sandbag.
Step 2: Secure your charm

Place your blank charm in the center of your steel block. Use washi tape to secure the bottom of the charm to the block.
Step 3: Find the center

Use a ruler to find the center of your charm. Mark the center on your washi tape with a pen.
Step 4: Start stamping

To get clean, legible letters, be sure to hold the metal stamp so that the letters lay flat against the tag. You’ll want to hit the top of the stamp with a hammer. A confident, hard strike works best. To make sure your letters are all lined up, make sure the bottom of each letter is matched up to the top of the washi tape. For a centered word, start stamping from the center, outwards. Do this by matching up your middle letter stamp with the center mark on your washi tape (for words with an odd number of letters), or by stamping the two middle letters around the center point (for words with an even number of letters). Tip: For longer words, it may help to write your word out before you begin stamping to match everything up.
Step 5: Stamp, stamp, stamp

Continue stamping the letters in your word.
Step 6: Attach jump rings


When you’re finished stamping, remove the metal charm from your block. Next, use two chain nose pliers to open a jump ring. Slide the open jump ring through one of the holes in your metal blank.
Step 7: Add chain


While the jump ring is still open, slide on your chain. Close jump ring. Attach the other end of the chain to your metal tag using a jump ring, as you did on the first side.
Step 8: Determine Necklace Length

You will most likely have excess chain. Before you cut your chain to attach a clasp, determine what length you want to make your finished necklace. If you’re making this for yourself, hold the chain up to your neck and try on the necklace to determine fit. If making this as a gift, 16” will sit loosely around the neck. Adjust this length as needed.
Step 9: Cut to length

You’re almost ready to attach the clasp. First, you'll need to find the middle-point of your chain. (You can use a tape measure or gravity to find the middle – whatever you prefer). Cut your chain at the middle-point using the sharp edge of your chain nose pliers. Snip!
Step 10: Finish it up

On one side of the chain, attach a clasp with a jump ring, as you did to the charm in Step 6. On the other side of the chain, attach a closure with a jump ring. Voila! Next steps ➜
DIY created by Clare McGibbon and the Etsy Studio Team for Etsy.com
