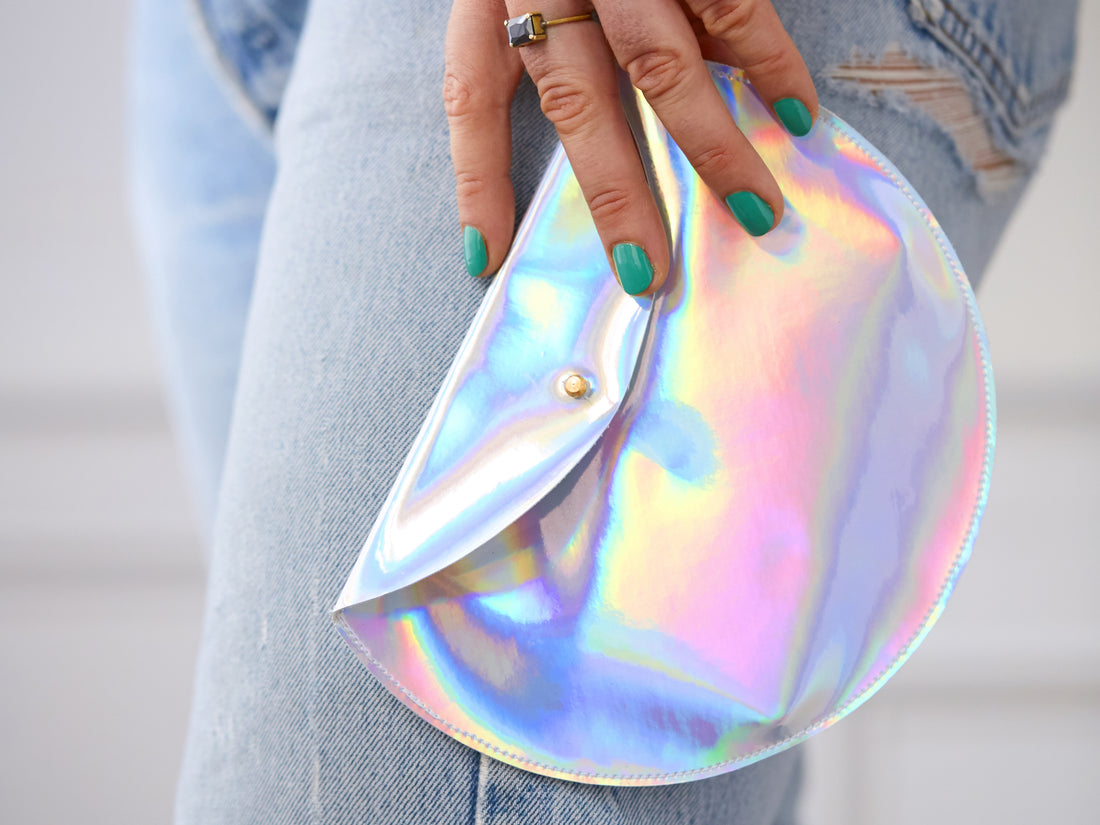
How to Make a Chic Holographic Clutch
Share

Could your summer wardrobe use a little late-season refresh? Here’s our no-fail answer to this common conundrum: a snazzy new accessory you can make at home (perhaps while planted in front of the air conditioner).
In this easy DIY that’s a little bit mermaid and a little bit mod, two of our favorite summer style trends—perky circle bags and festival-ready polychrome finishes—happily collide. Even better, the project is as adaptable as can be: You can craft your pouch in any size that works for you, from lip-balm-and-credit-card size to a roomy clutch large enough for a phone, keys, and a spare pair of sunglasses.
You will need:

- 2/3 yard iridescent leatherette or lightweight vinyl
- A round object (such as a plate or bowl) to trace a template around
- Paper
- Pencil
- Scissors
- Cutting mat
- Ruler
- Rotary cutter
- Tape
- Sewing machine with a leather needle, or a leather needle for hand sewing and some thread
- Hammer or mallet
- Leather hole punch
- Utility knife
- Button-head stud
Step 1: Create a round template

Decide how large you’d like your pouch to be and use a similarly sized round object, such as a dinner plate or a planter, to trace a circle onto a piece of paper or cardboard. (For a larger pouch, use a round dinner plate; for smaller options, a bowl or mug might do the trick.) Cut along the line to create a template.
Step 2: Cut a set of circles

Use a pencil to trace the round template twice onto paper and twice onto the leatherette or vinyl you’ve chosen. Cut out all four circles.
Step 3: Make a template for the bag's front

Fold down one side of one paper circle to create a flap that’s about one third the width of the full circle, then press down firmly to form a crease. Keep in mind that the fold you make in this step will determine the shape of your completed pouch. Next steps ➜
DIY created by Clare McGibbon and the Etsy Studio Team for Etsy.com
