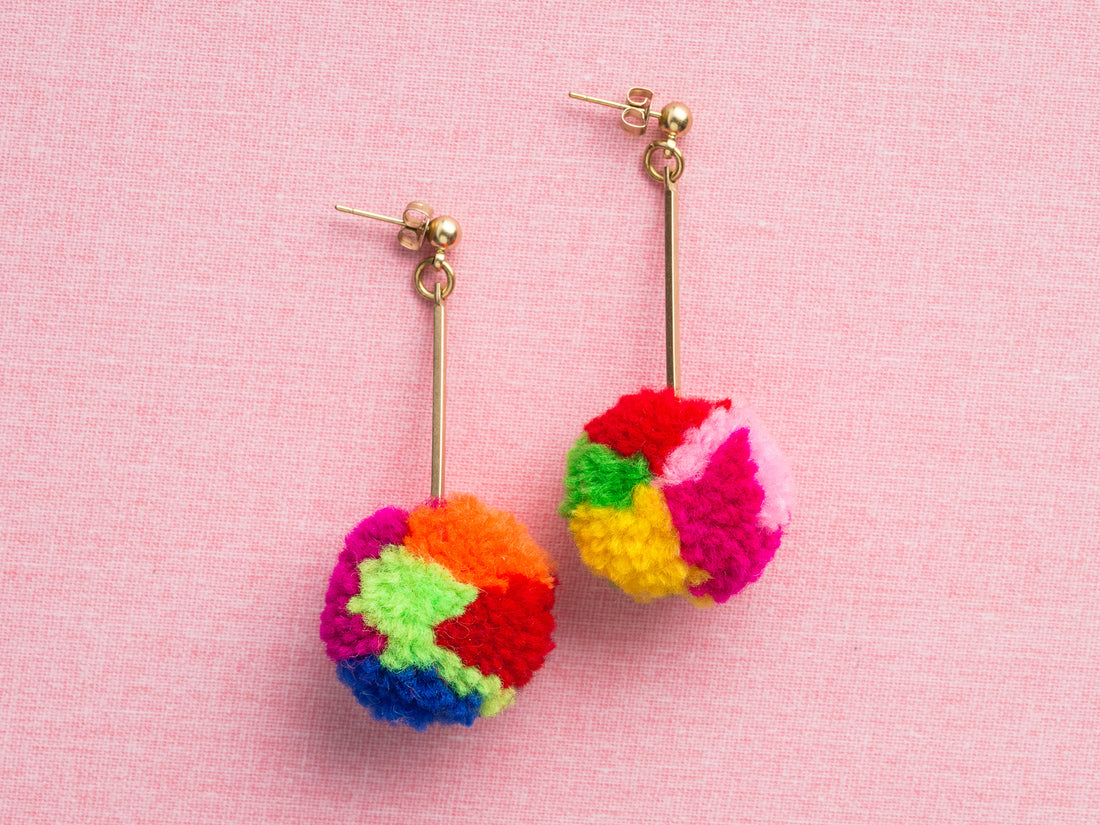
DIY Pom-Pom Earrings
Share

Running out of time to find the perfect holiday present for your number-one pal? Don’t panic! For a DIY gift that’s sure to leave a lasting impression, look no further than these colorful pom-pom earrings. Great for a trend-savvy friend (or a sister you’re constantly swapping accessories with), this beginner-friendly jewelry tutorial is a fast favorite.
Thanks to the wide variety of pom-poms available online, it’s easy to customize each pair to match the style of your recipient. Go bold with a multi-color version for the girl who’s not afraid to stand out, or opt for uniformly colored poms to add a more restrained splash of color to everyday ensembles. The best part? With instructions this simple, you’ll still have time to make a matching pair for yourself.
You will need:

- 2 pom-poms
- Thread
- Sewing needle
- Embroidery scissors
- 2 brass bar connectors (we used the 32mm-by-1.2mm size)
- 2 jump rings (4mm or 21 gauge)
- 2 pairs needle-nose pliers
- 2 ball earring posts with rings (3mm)
- 2 earring post backs
Step 1: Thread needle through pom-pom

Select the two pom-poms that you want to use for the earrings. Cut a length of thread approximately two feet long and thread your needle. Push the needle through the center of one of the pom-poms, leaving a long tail.
Step 2: Attach bar connector


Next, pass the needle through one end of the bar connector. Push the needle back through the center of the pom-pom to meet the tail end of your thread, and pull on the thread so the end of the bar connector rests flush against the pom-pom’s edge. Repeat this process two or three times, until the pom-pom feels securely attached to the bar connector.
Step 3: Knot thread and trim excess

Use a double knot to tie the ends of the thread, then trim the excess. Next steps ➜
DIY created by Clare McGibbon and the Etsy Studio Team for Etsy.com
